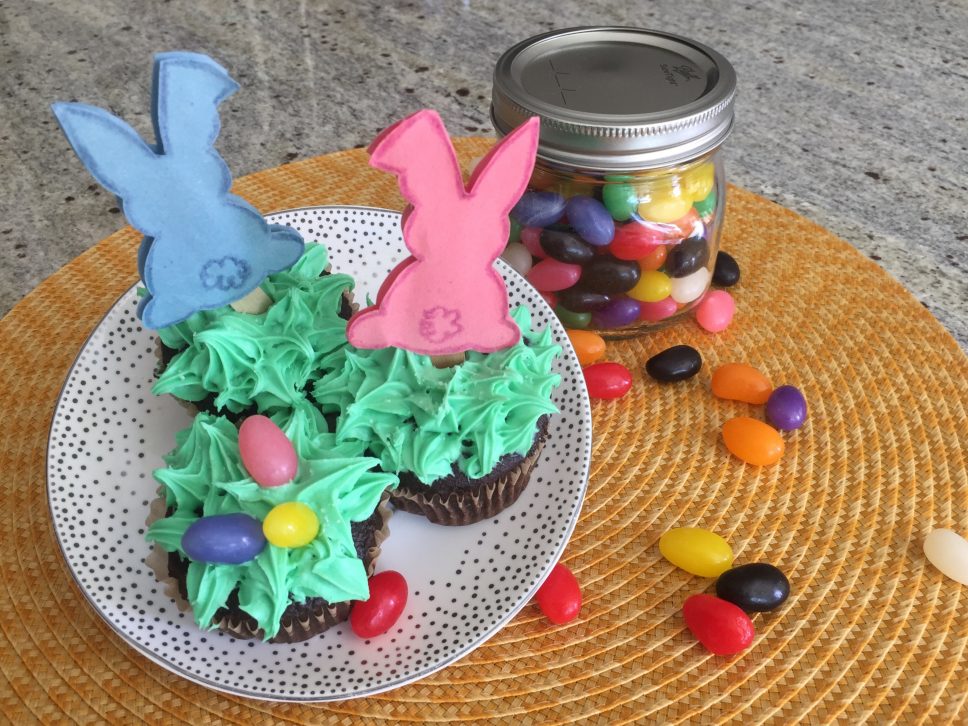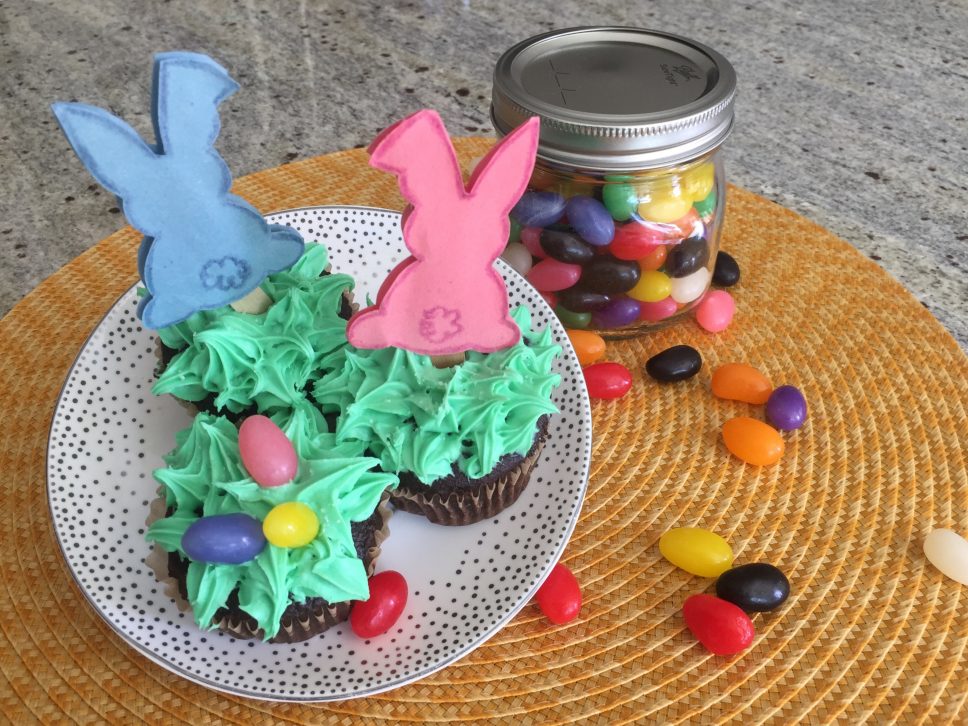
I’m hosting a small Easter celebration with some of my favorite people and kids this weekend. This playful dessert is sure to delight them and work as festive decor! I really enjoyed making these because piping the grass frosting isn’t hard and you can have kids help each step of the way if you want (we’ve got lots of other activities planned for this gathering, so I’ll keep the baking to a minimum day of – I’ll have kids who want to feel involved add their own jelly bean eggs).
I’ve outlined some tips below! Be sure to use #mothergooseclub on social media to share pictures and videos of your Easter baking adventures – can’t wait to see what you come up with!
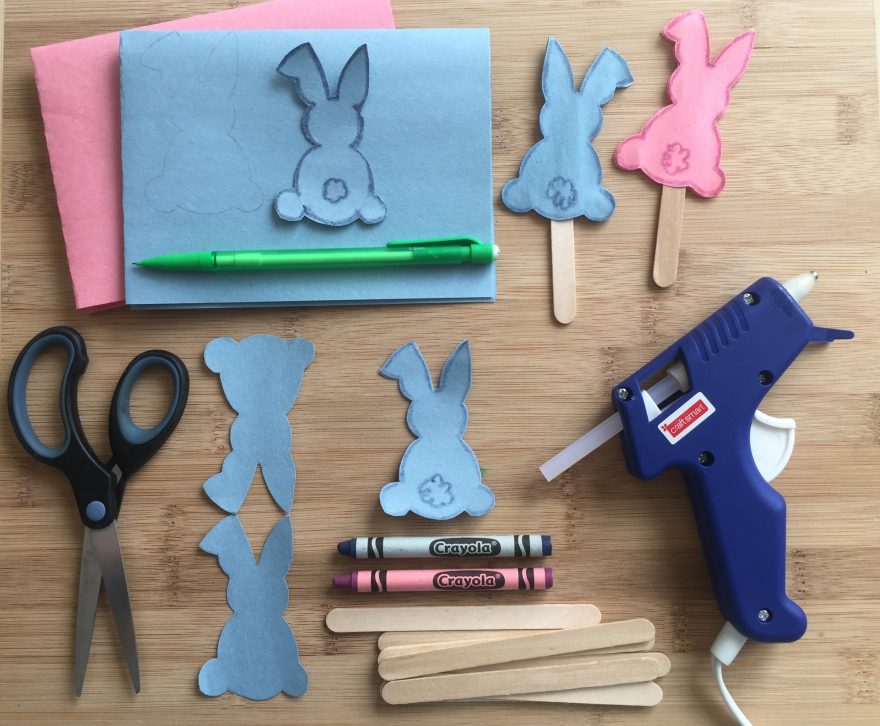
- Place your stencil at the top fold and when you cut out your bunny, make sure the ears stay connected at the top, giving you two sides -front and back (though I just opted for doing bunny backs on each side since a tail is easier to draw than a face!).
- Use a crayon in a slightly darker shade to outline your bunny and add a tail – the outline really makes them pop and the tail is just so cute.
- Use hot glue to attach your craft stick between each side of your bunny and then add a few small dots to connect the paper bunny edges completely.
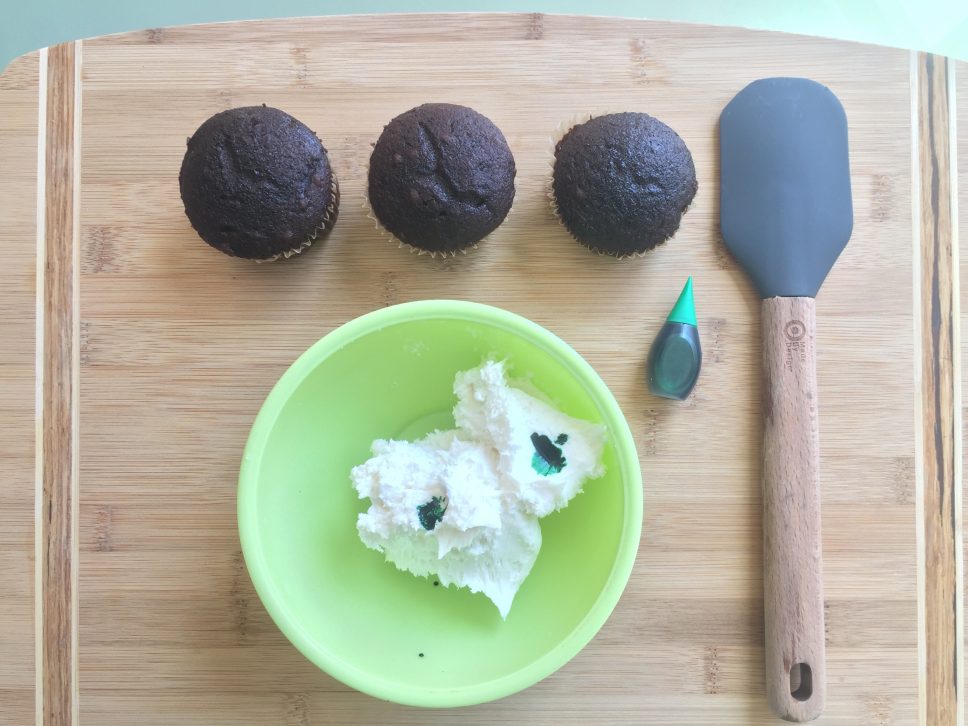
- Bake chocolate cupcakes with your favorite recipe – I just used a box from the supermarket.
- Add drops of food coloring to your frosting until you get your desired shade of green – I wanted mine to feel a little pastel and used about 12 drops.
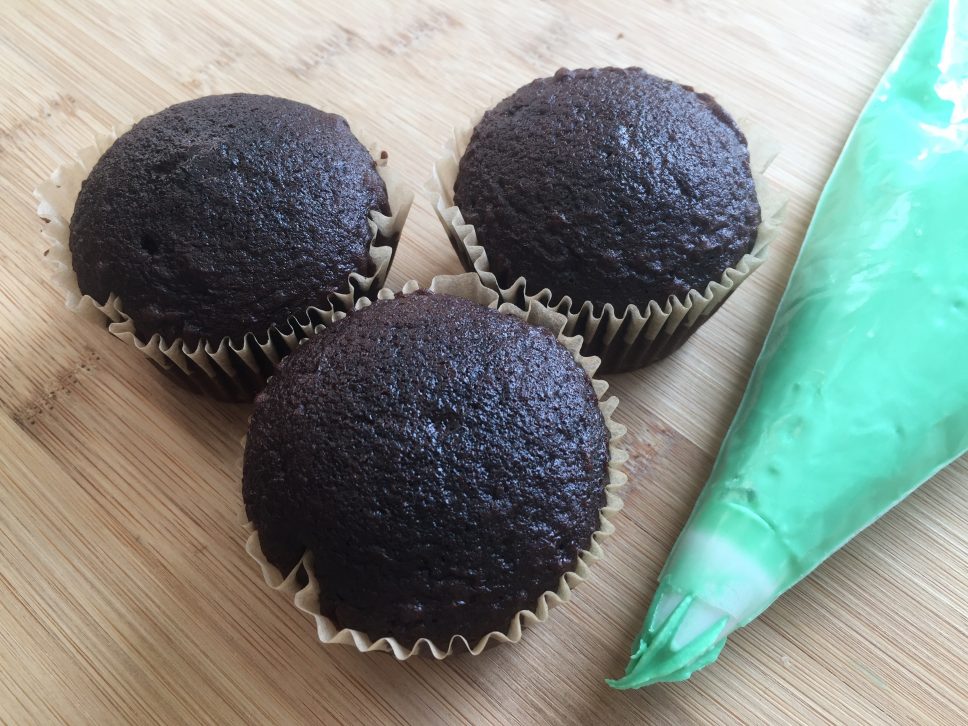
- I placed the plastic frosting tip in the piping bag first to see where the frosting would come out, made a cut across the bag there and squeezed to get the tip in place.
- Spoon/spatula your frosting into your bag and frost.
- As you gently squeeze the piping bag, pull up and away to get the frosting to disconnect and create the grass effect.
- Finish with a few colorful jellybeans for Easter eggs!
