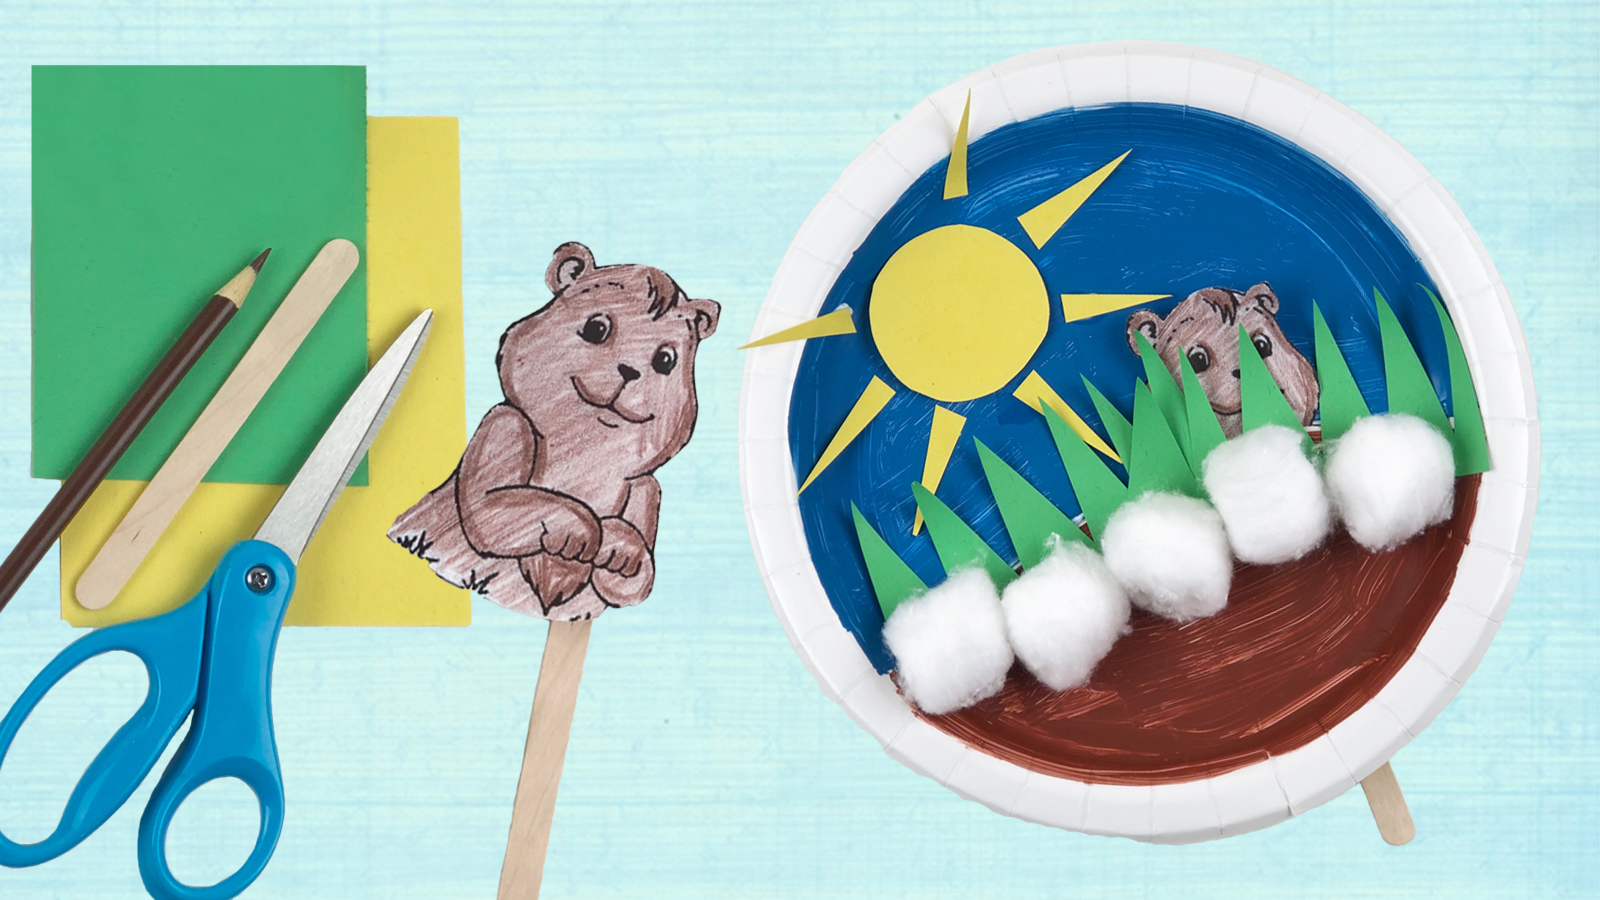
Groundhog Day, and hopefully spring, is just around the corner! As we anxiously await the groundhog’s next move, get the kids involved with this fun tradition by crafting together. Talk about the different seasons and how many animals come out of hibernation in the spring time. Learn a bit more about the holiday’s history, make predictions and work on developing those fine motor skills.
Materials:
All the materials you need are below. Most everything can be found around the house or at your local store. Get creative, improvise and let us know what works for you!
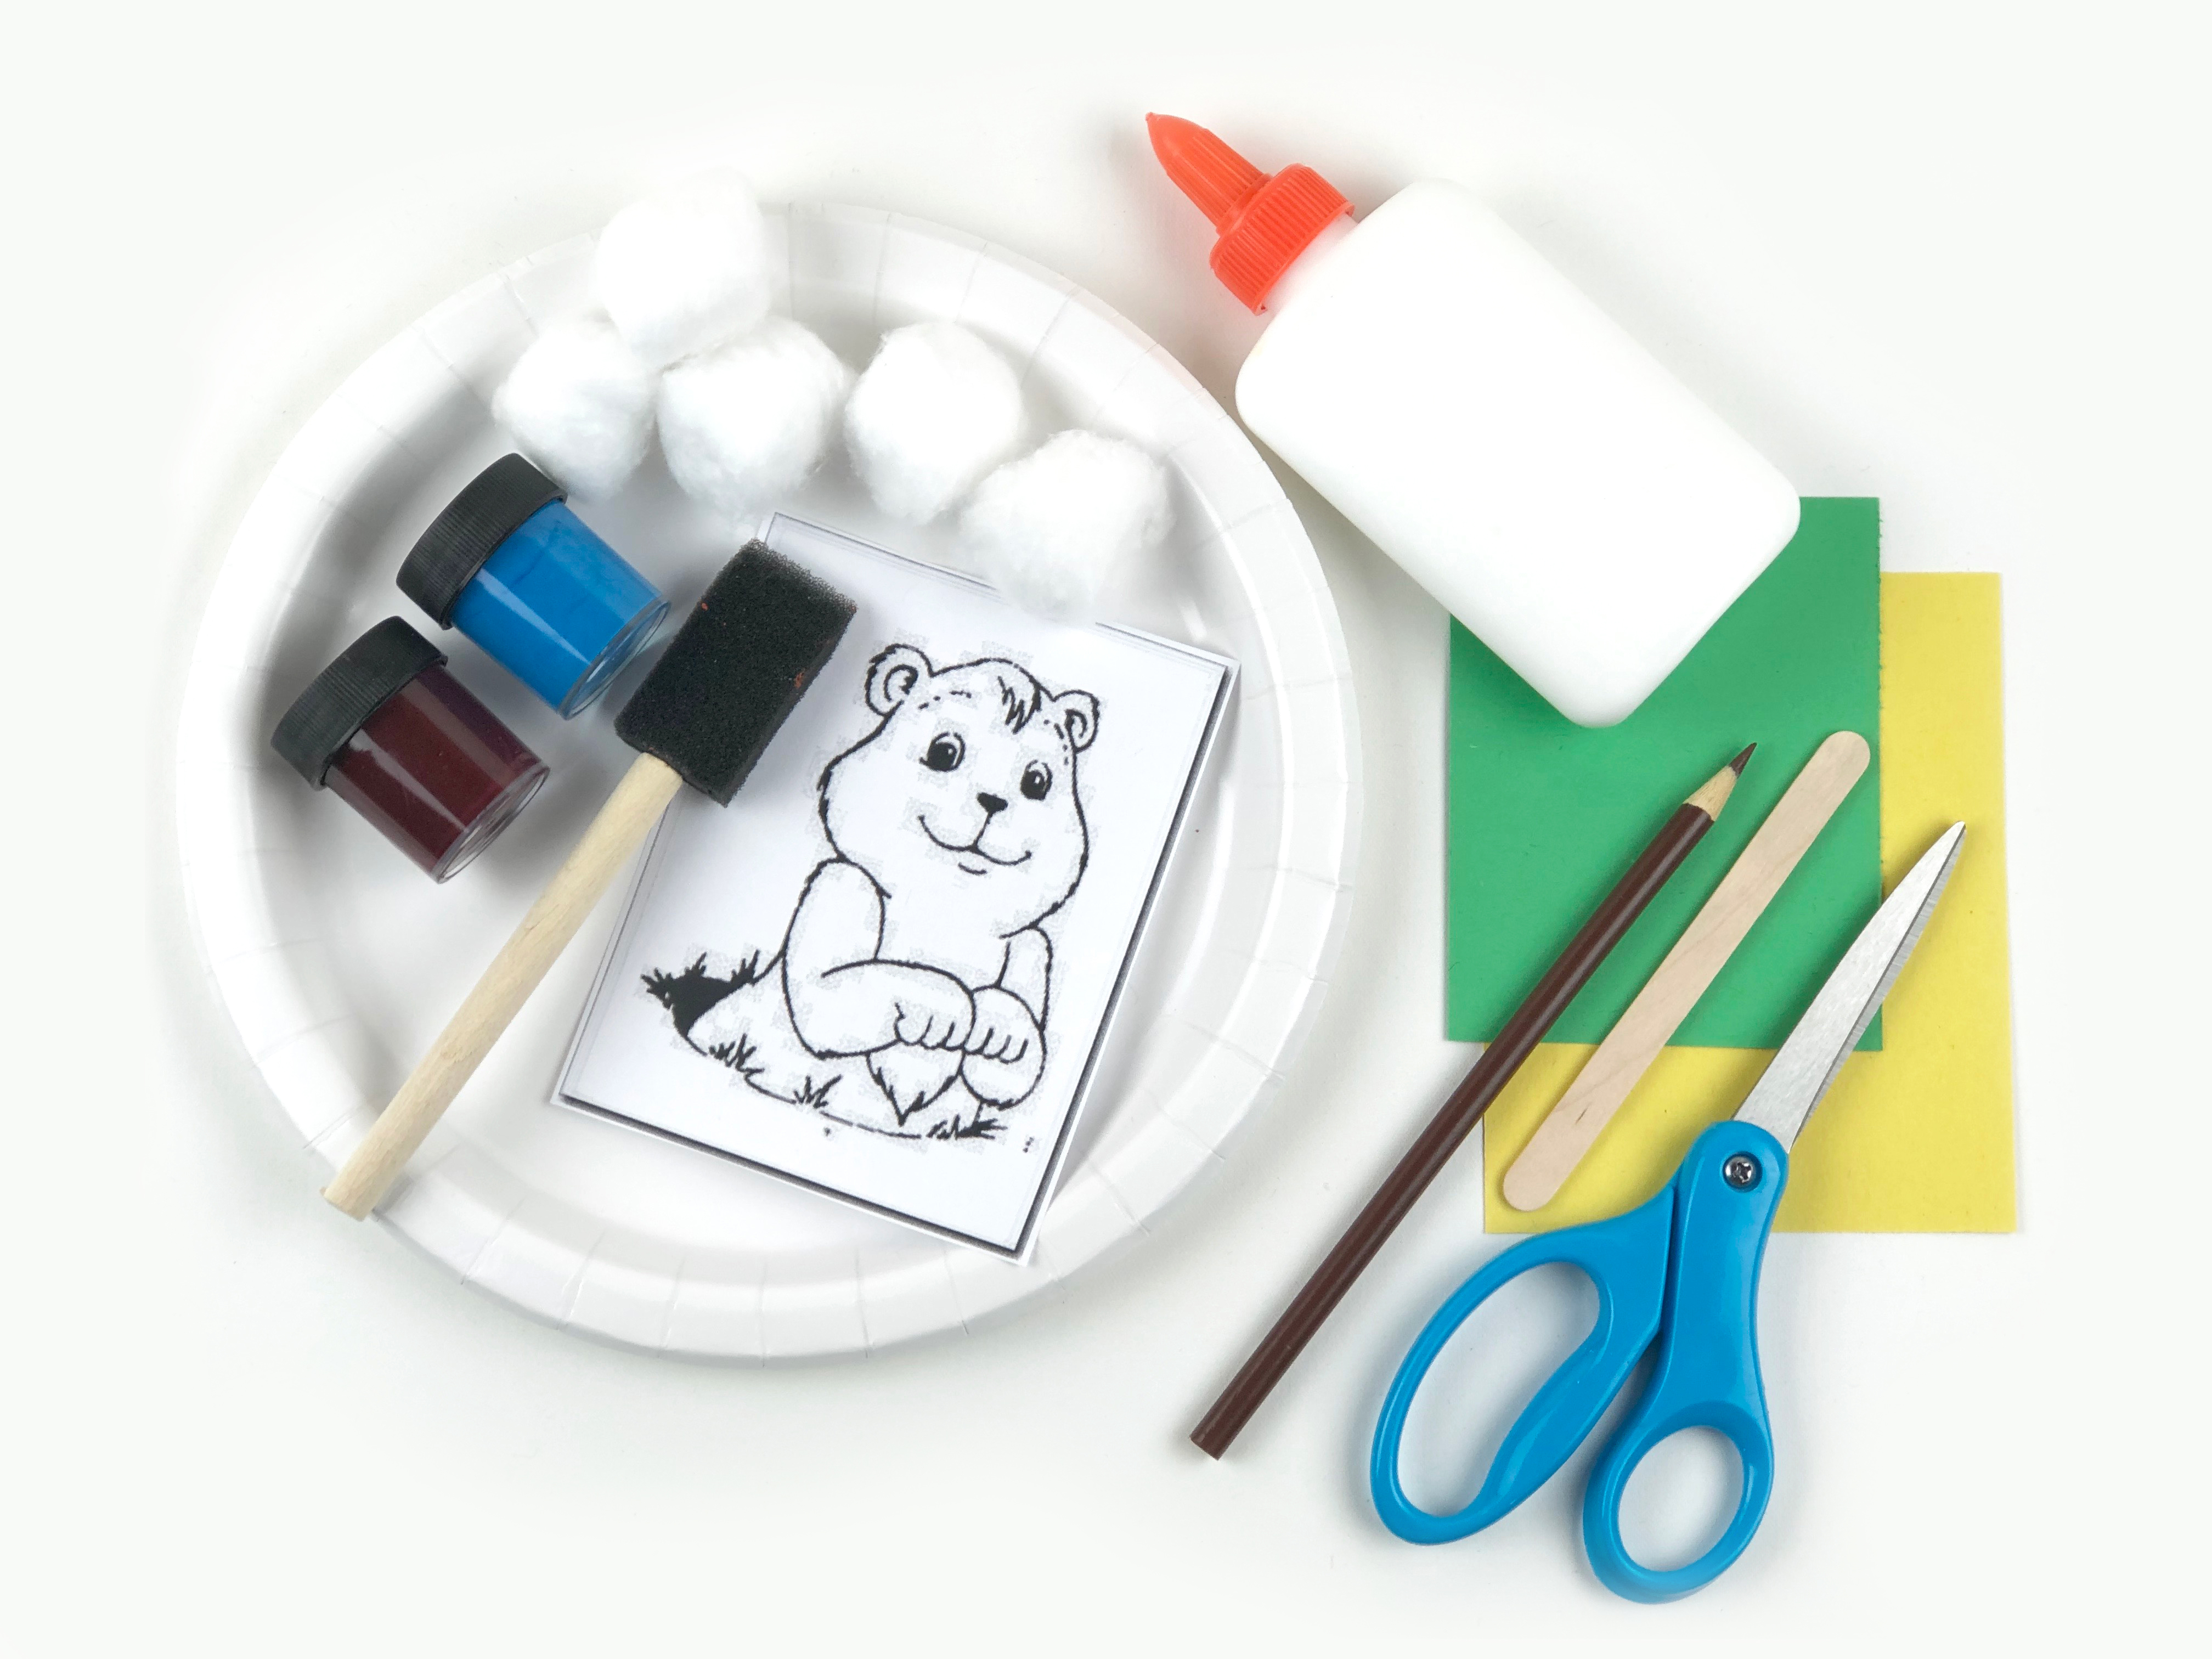
- Groundhog print-out or drawing
- Paper plate
- Green and yellow construction paper
- Blue and brown paint, and paint brush
- Craft stick
- Cotton balls
- Glue
- Scissors
- Colored pencil or crayon
Step 1 – Paint:
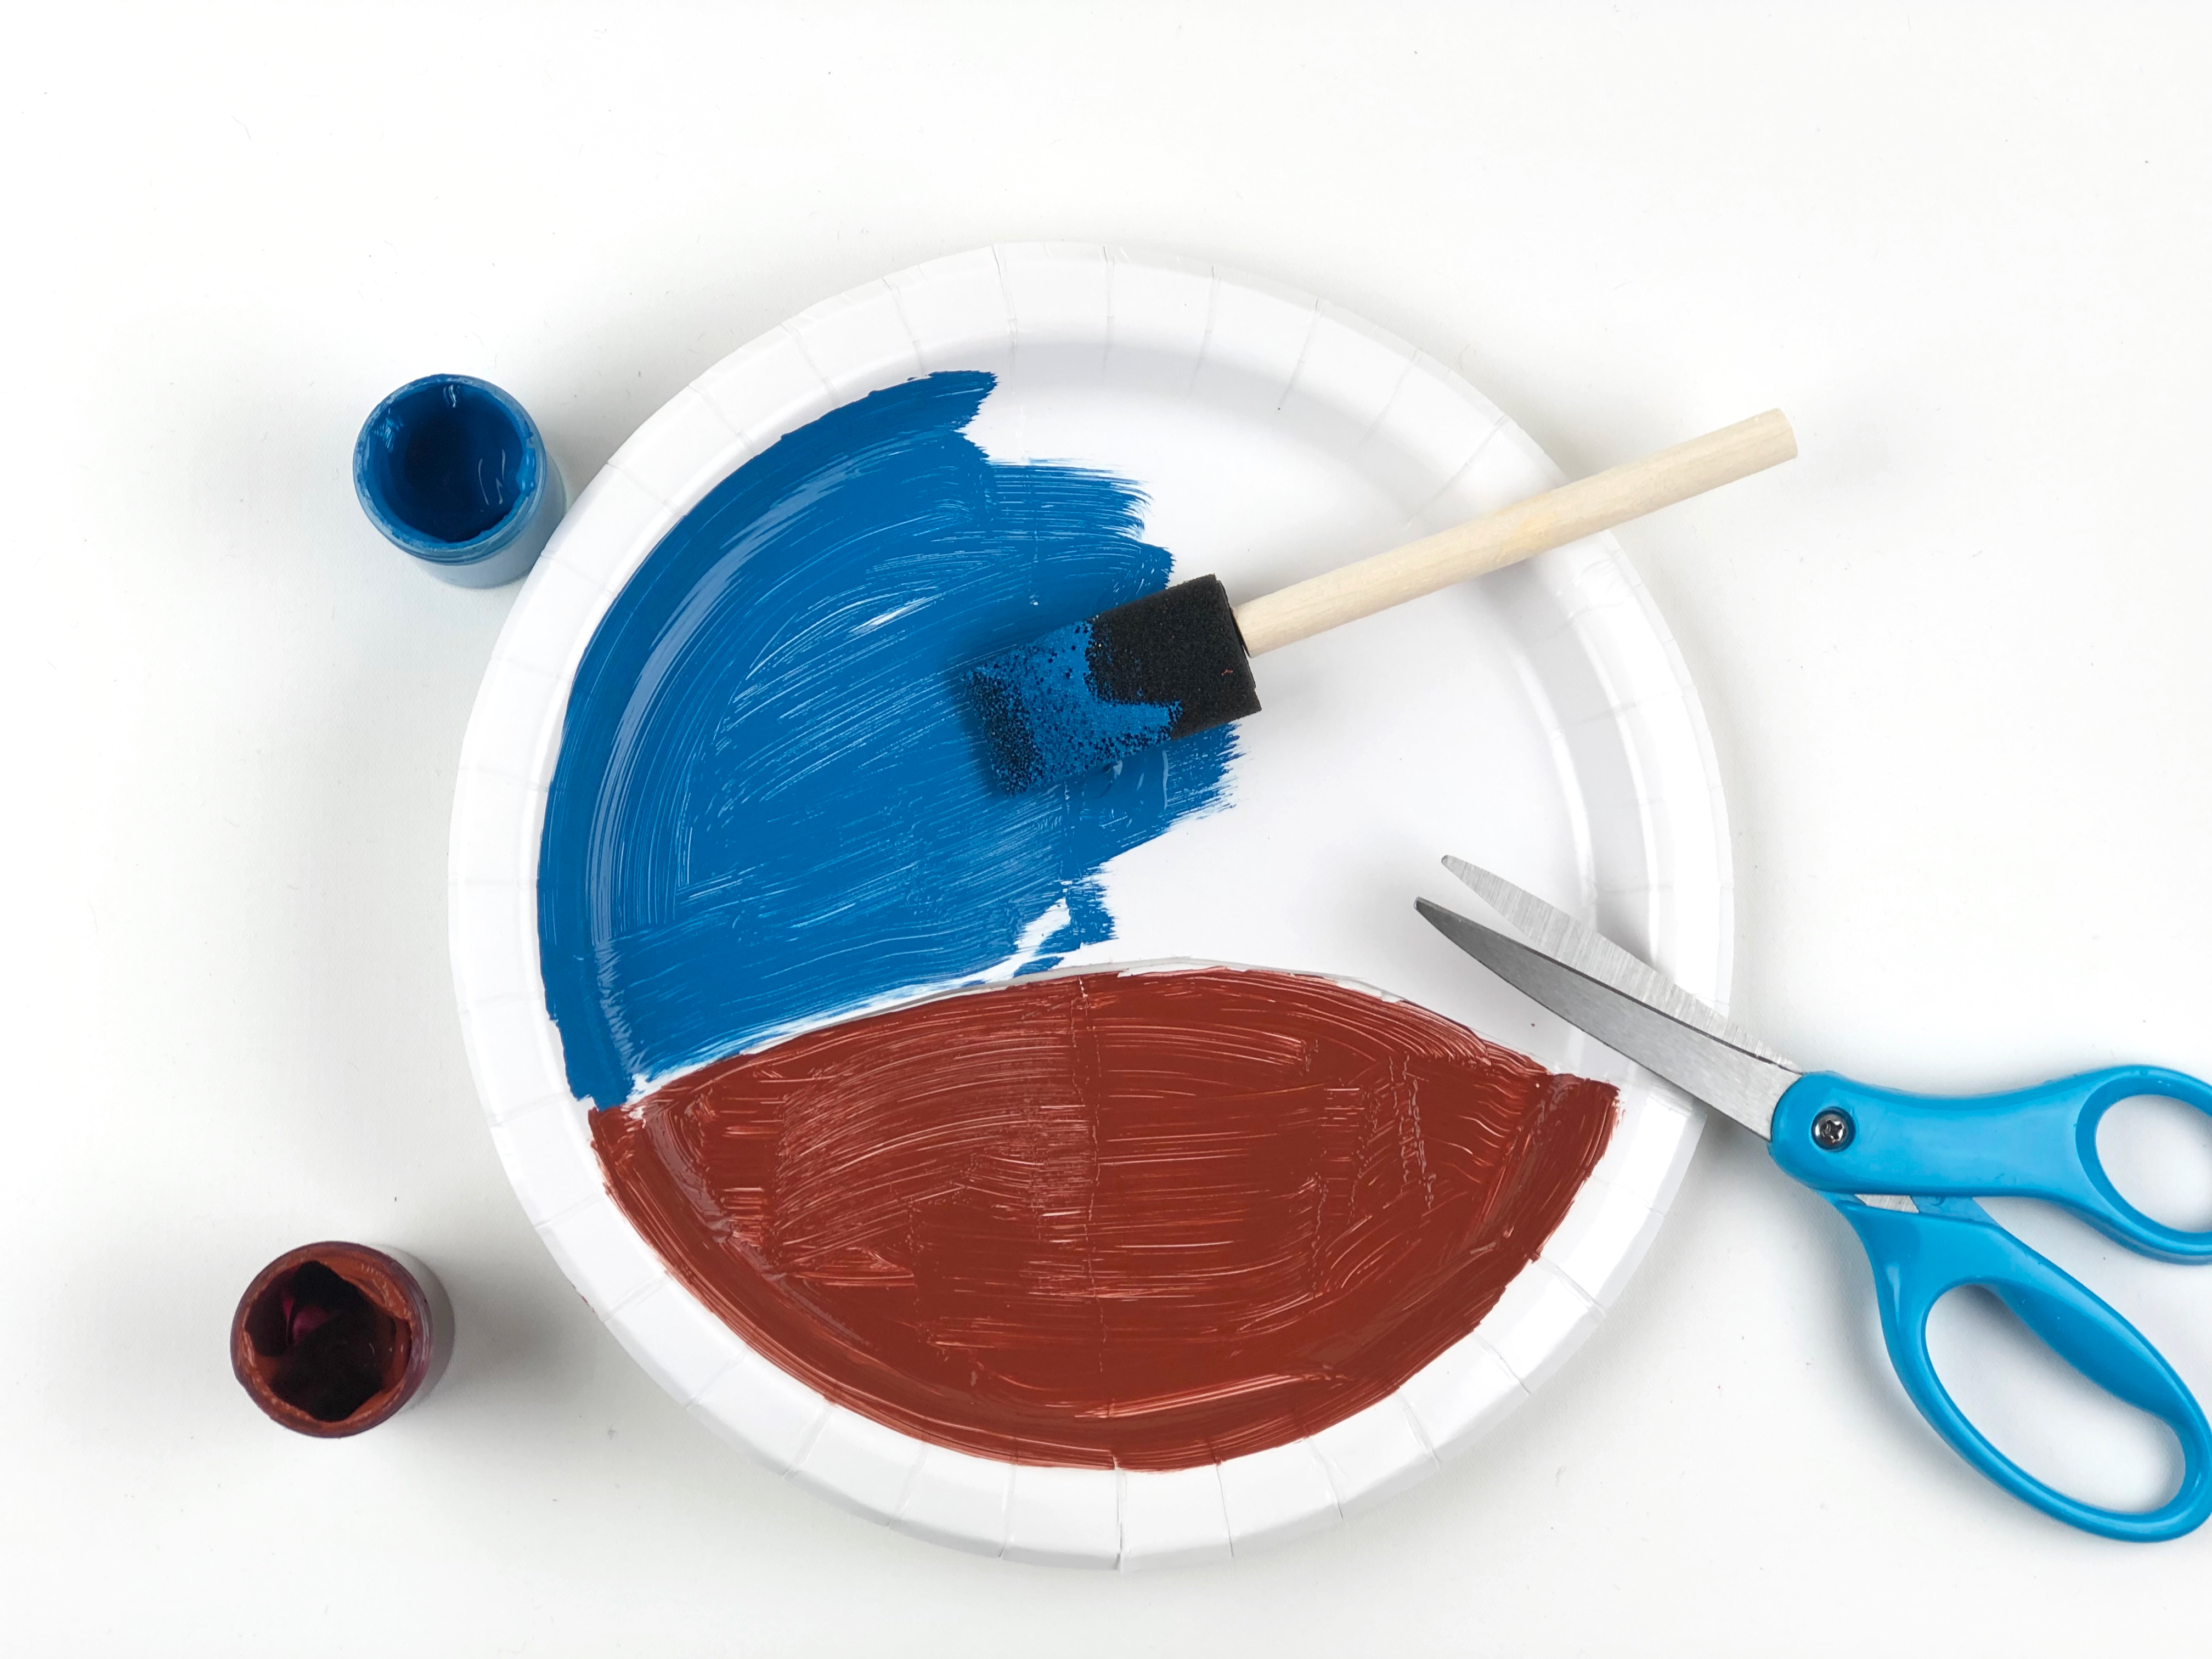
Paint the top half of the plate blue (for the sky), and the bottom half brown (for the ground).
Step 2 – Cut:
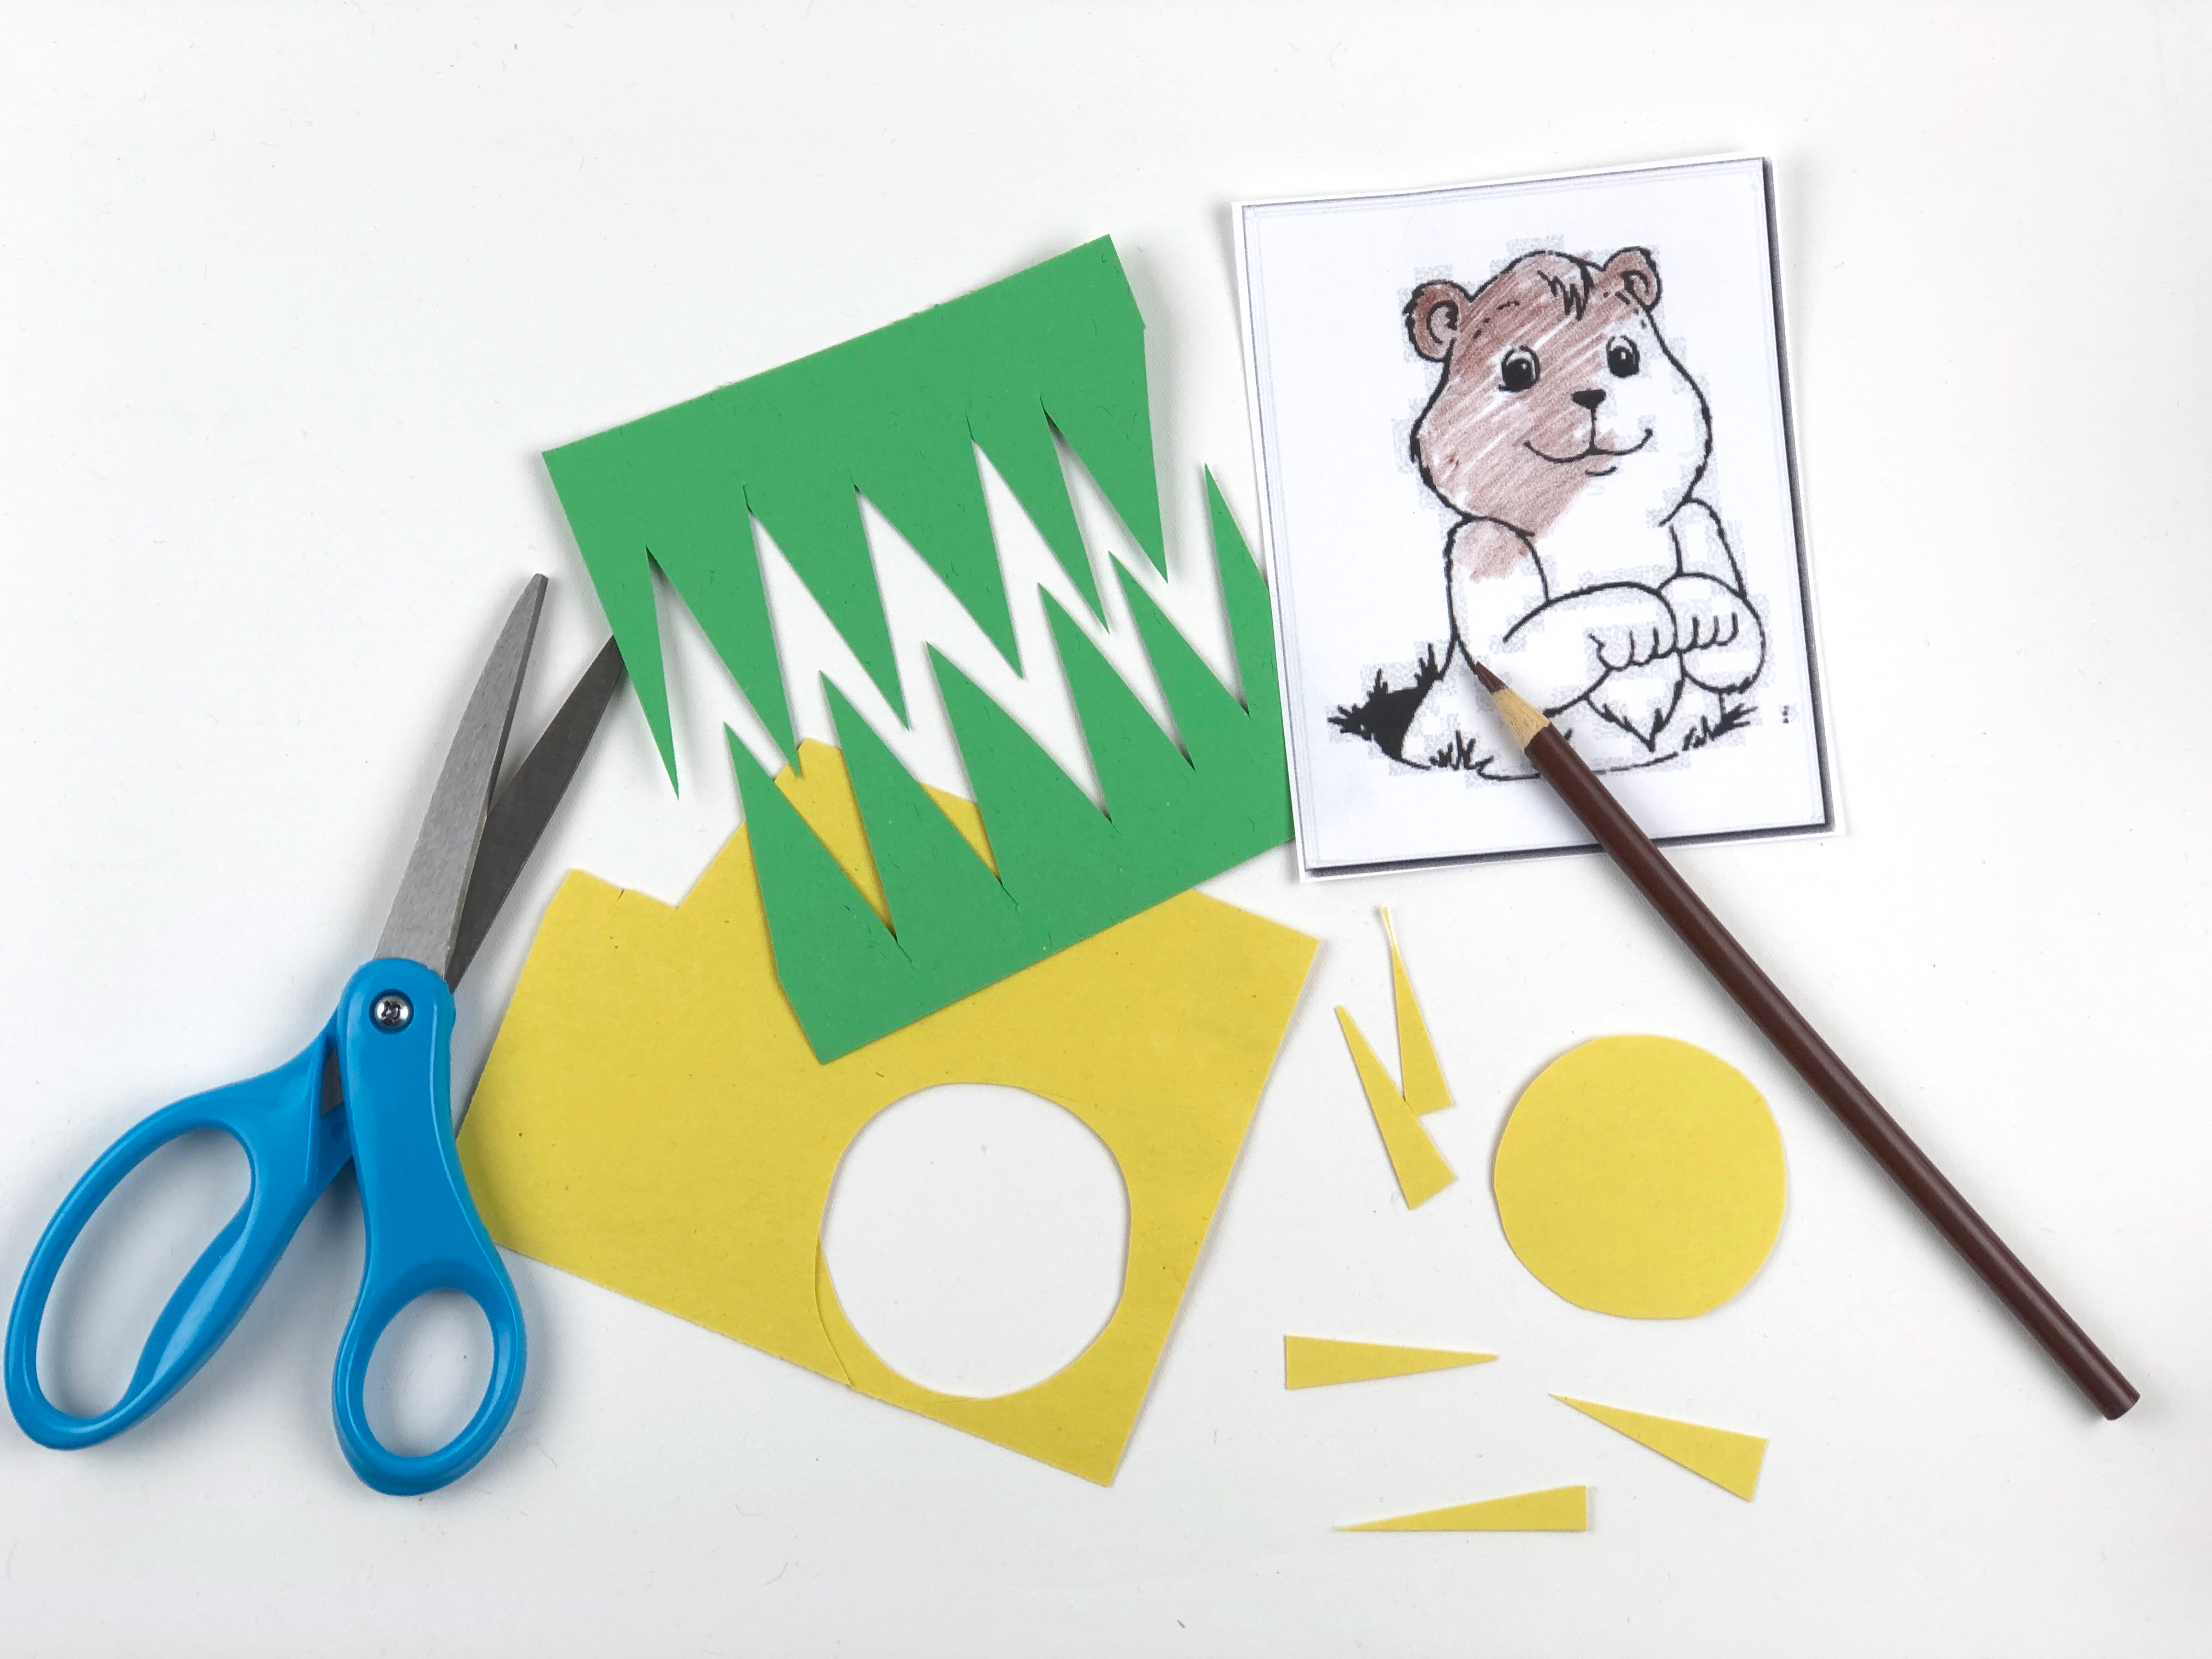
Cut out a sun and rays from your yellow construction paper, and cut out grass strips from your green construction paper.
Color and cut out your groundhog image.
On your plate, cut across where the blue and brown meet (this will be the groundhog’s burrow).
Step 3 – Glue:
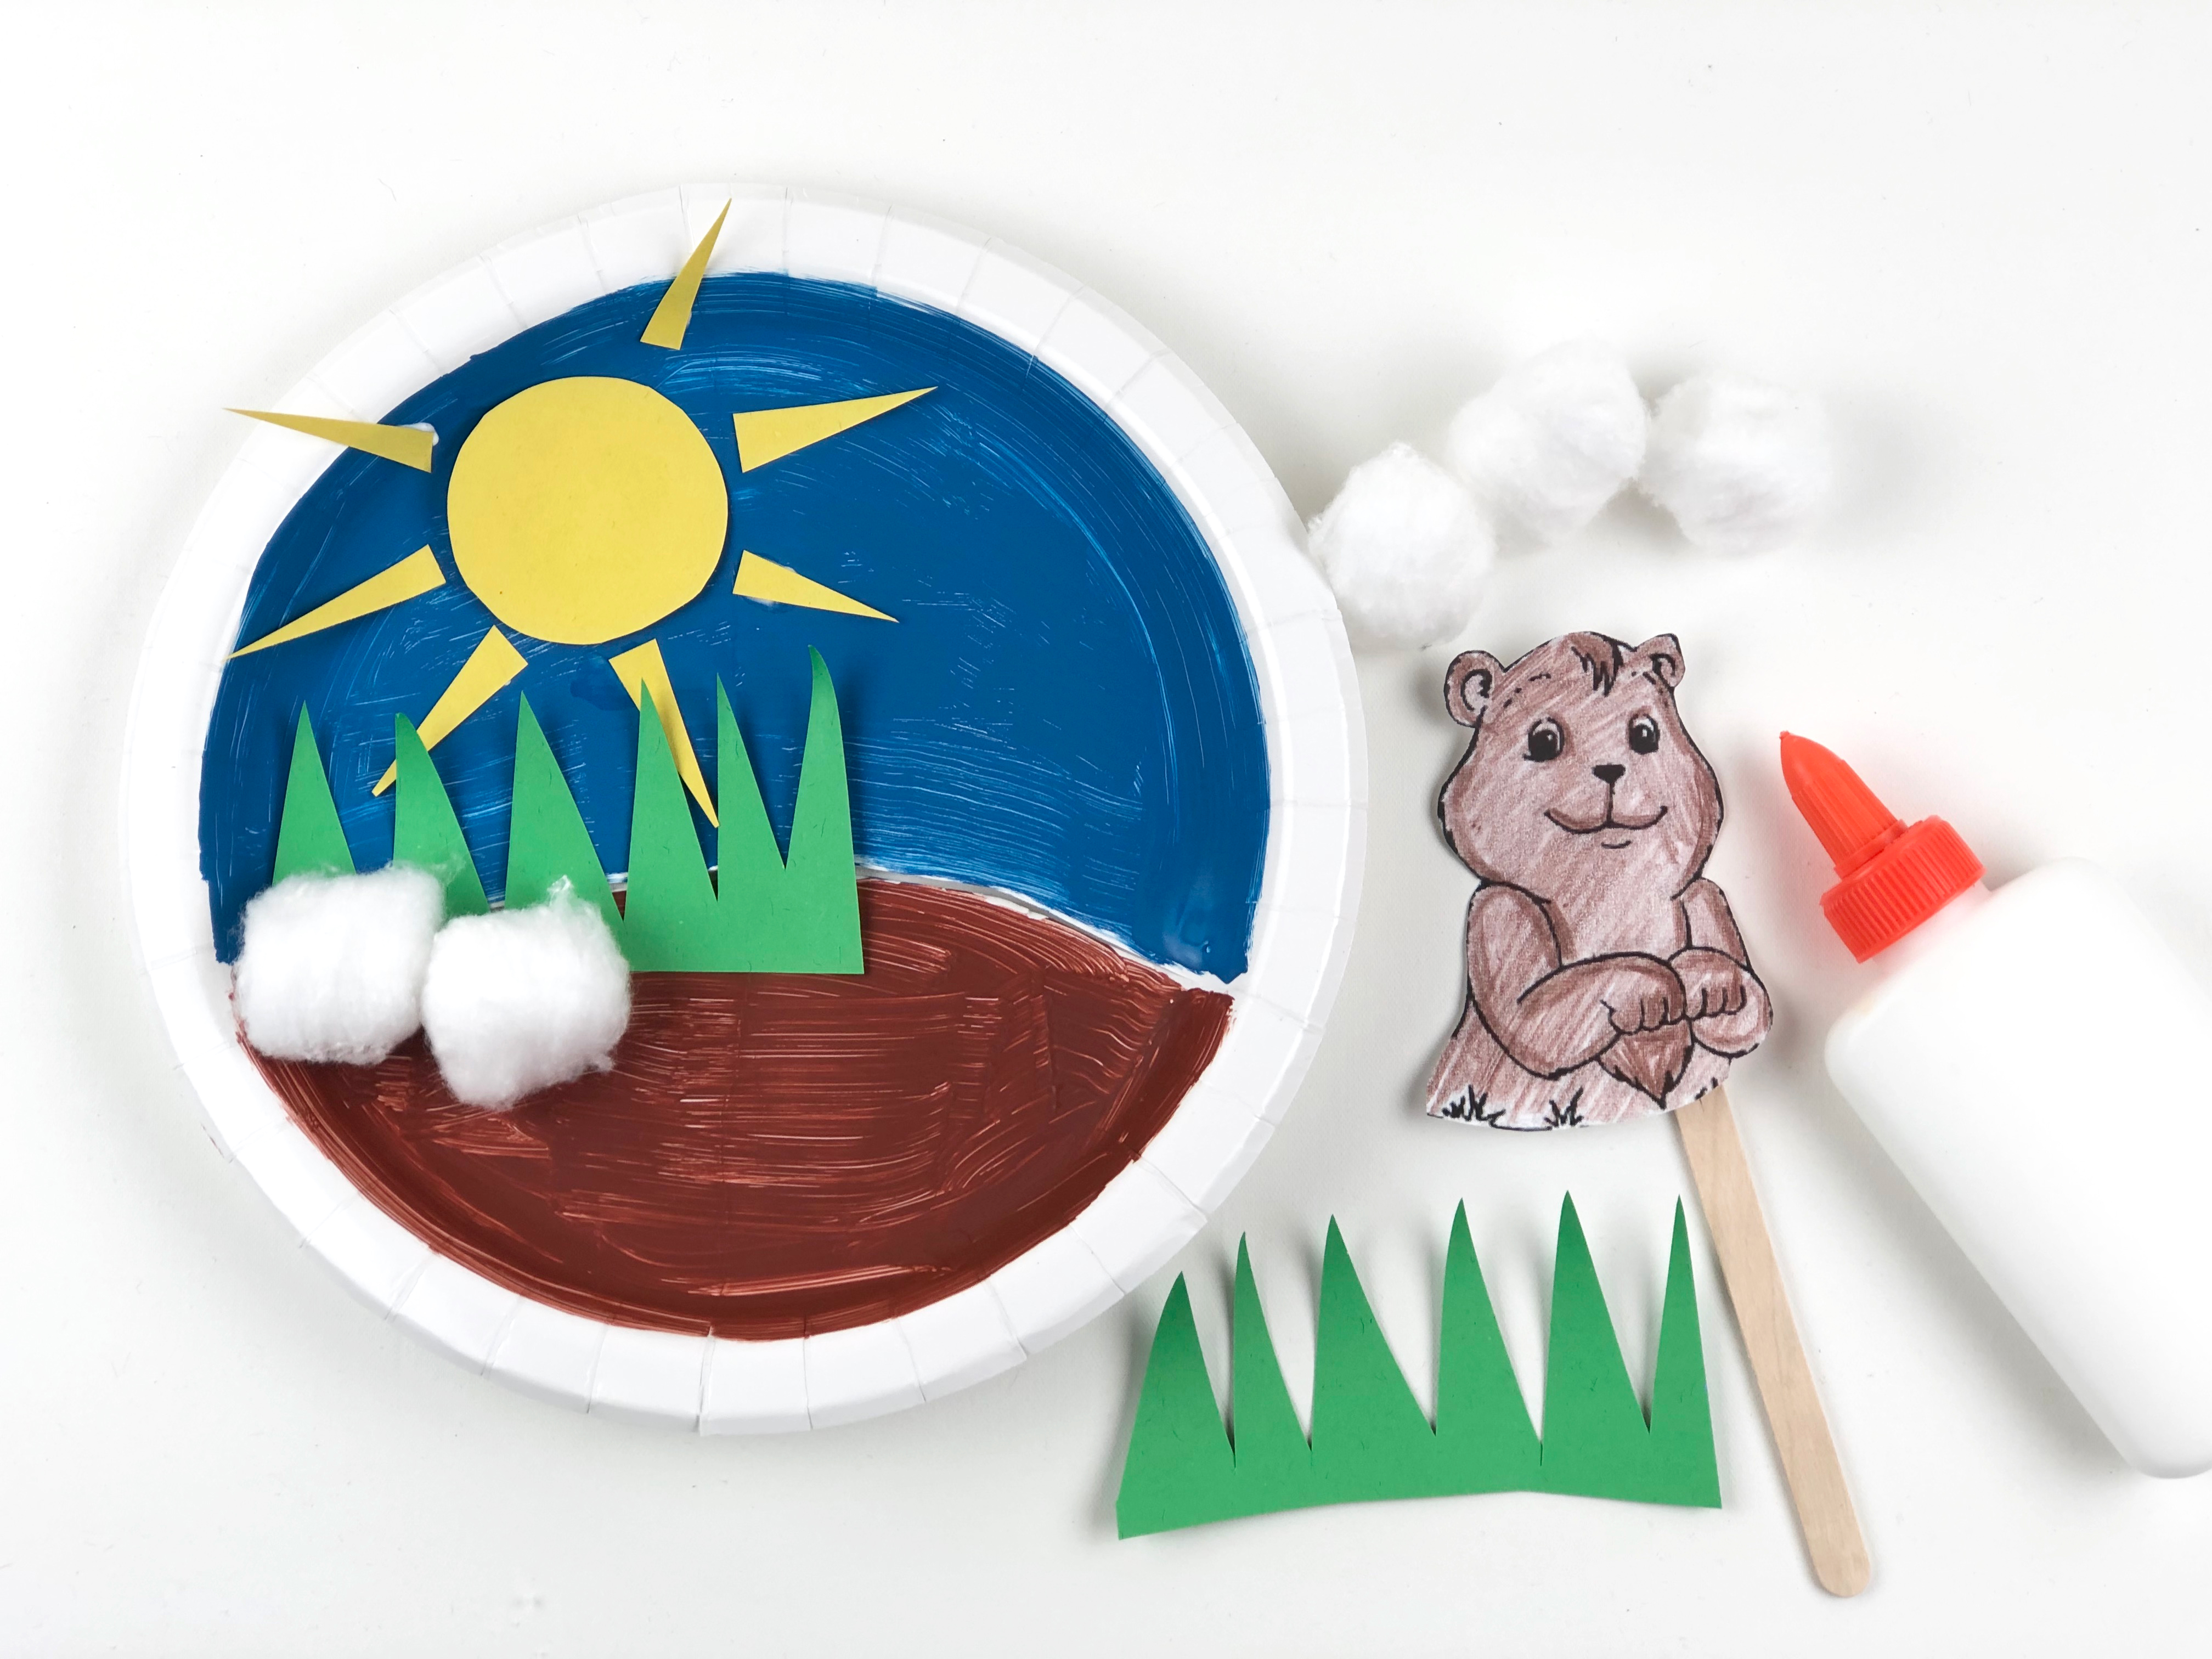
Glue your sun, grass and cotton balls onto the plate. Glue your groundhog onto the top of your craft stick.
Step 4 – Play:
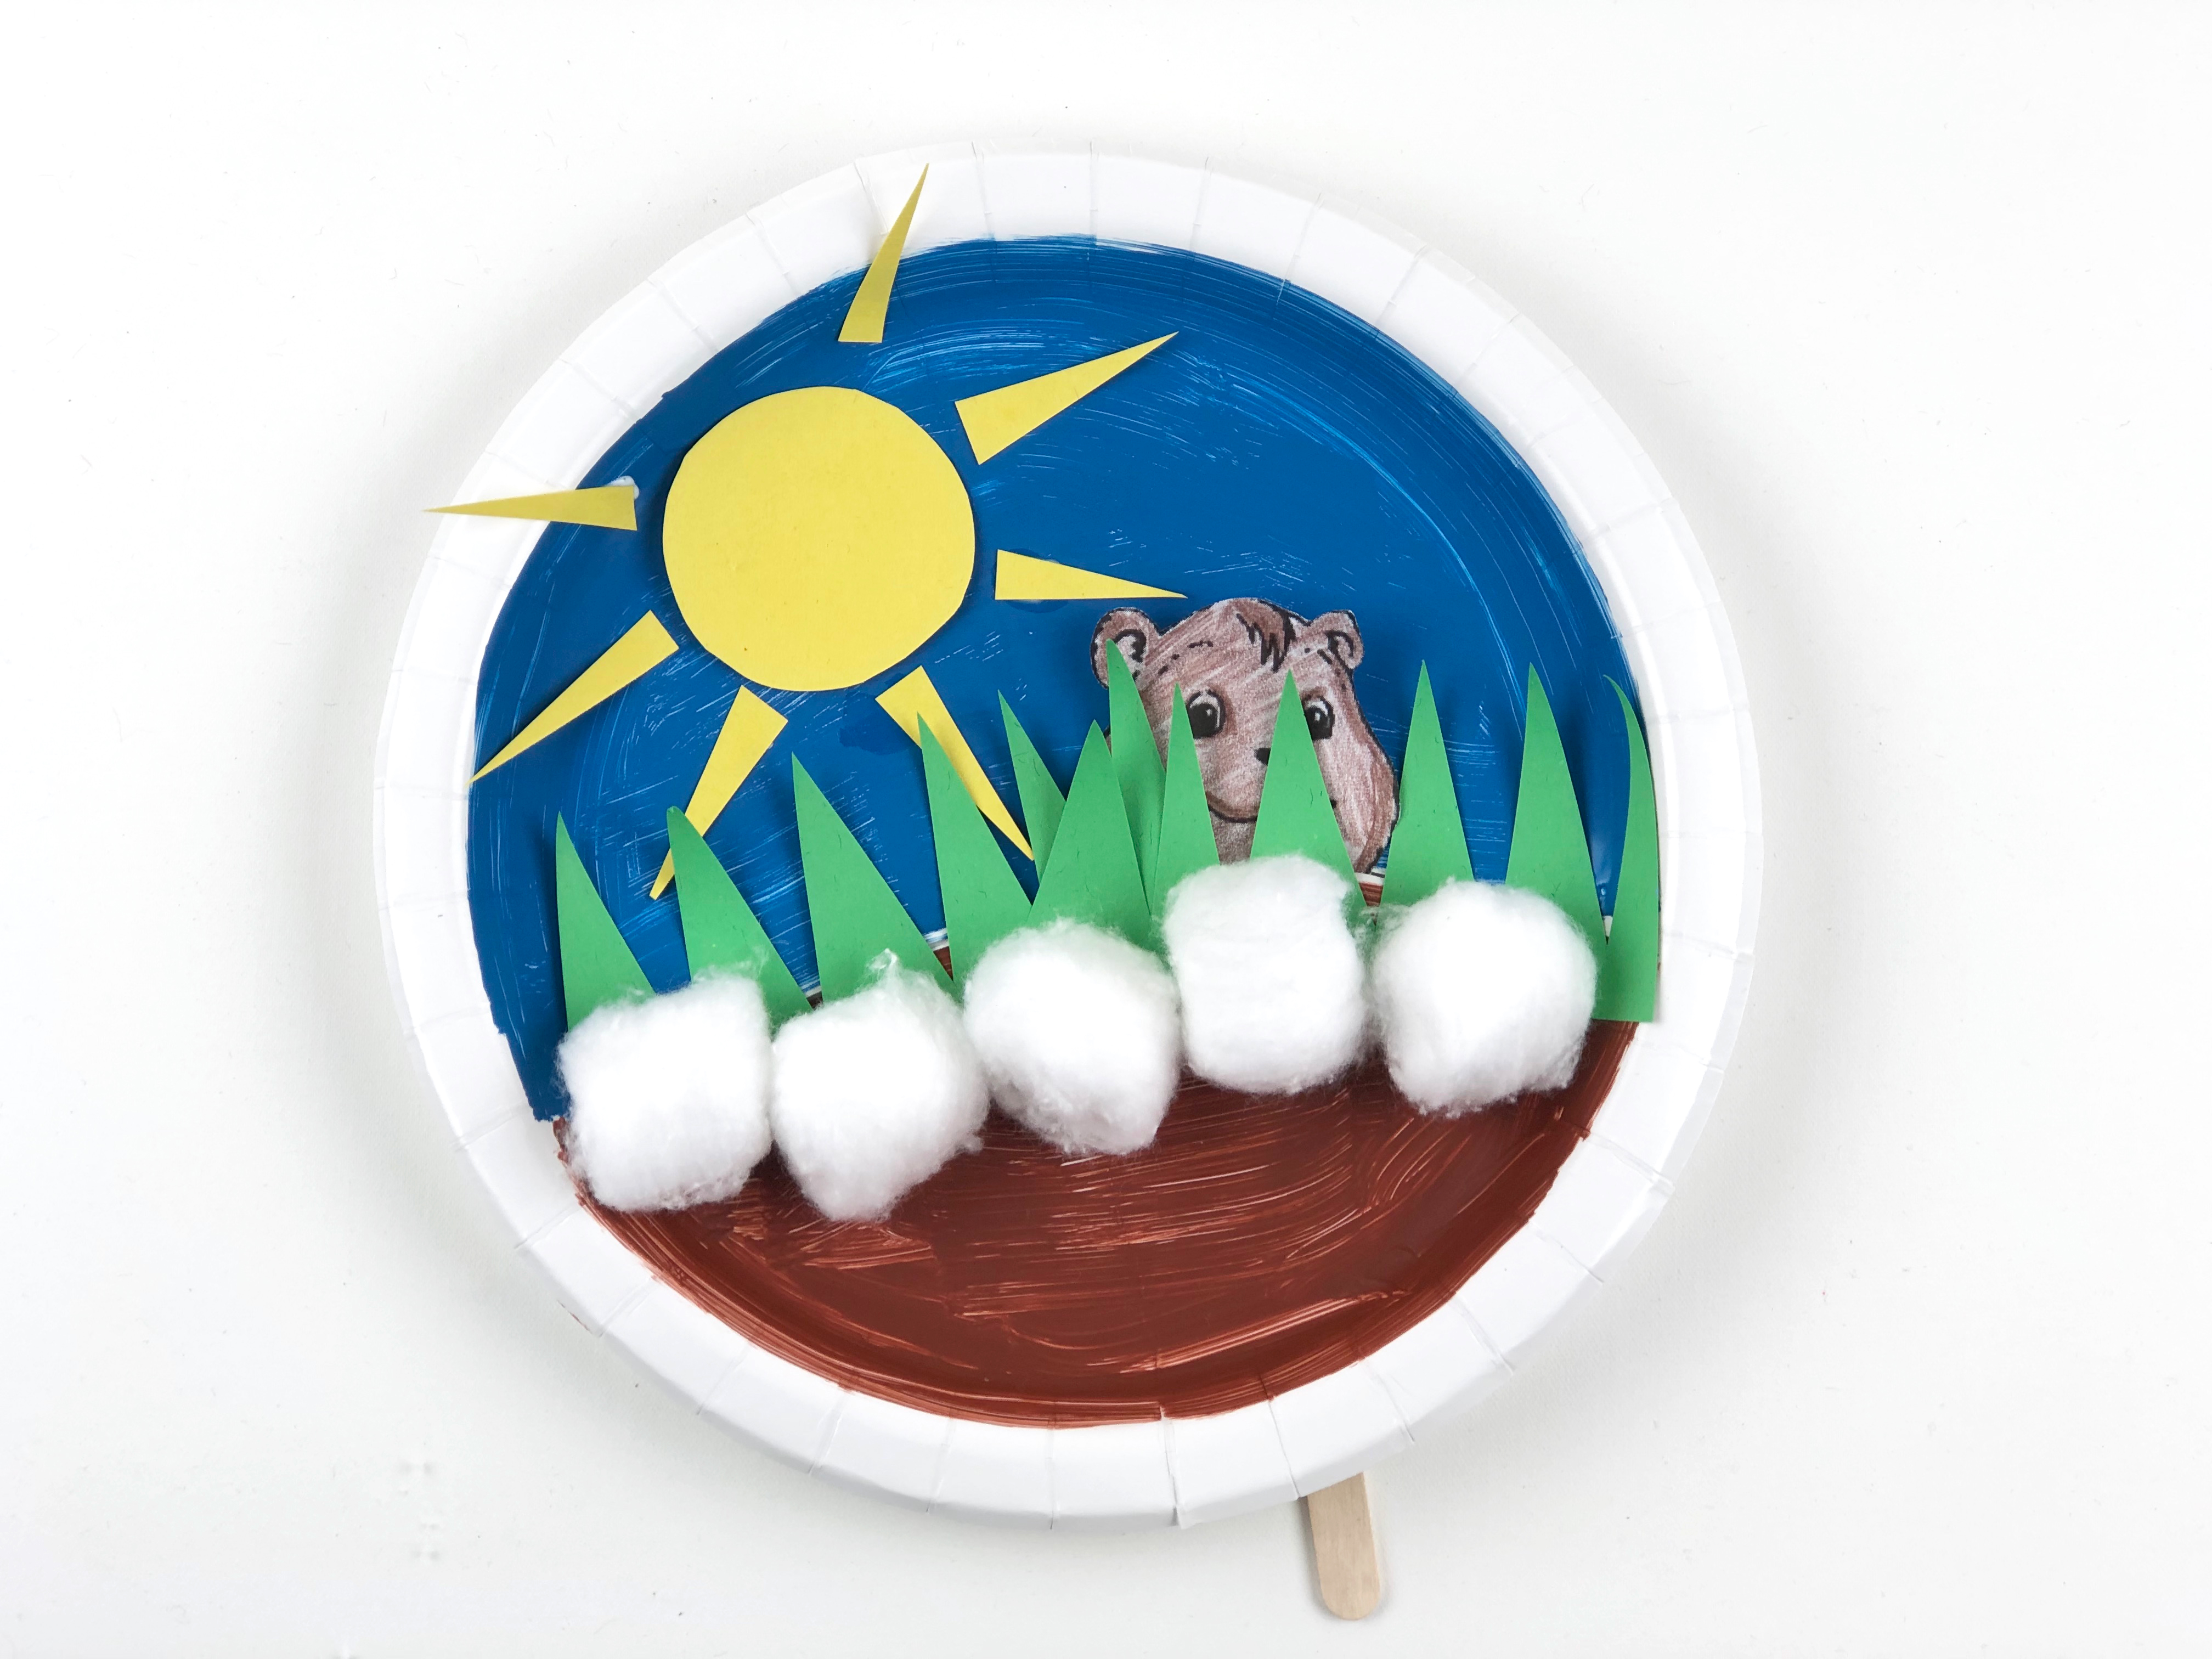
Pop the groundhog’s head in and out of his burrow!
Share With Us!
Did you have fun recreating your own groundhog scene? What’s your family’s favorite holiday craft? Share your thoughts and creations with us on Facebook, Instagram or Twitter using #mothergooseclub. We love getting crafty and celebrating with Mother Goose Club families around the world!
